Tuesday, February 3, 2015

Cornbread Crust Chicken Pot Pie

I hope everyone is having a great week!  Life has been hectic and busy around here lately and so cooking has kind of been put on the back burner....see what I did there?  Today I had some free time and chicken pot pie has been sounding so good and so when I get bored tasty things happen.


Chicken pot pie..you either love it or you hate it.  I happen to be one that falls into the "love it" category.  Traditionally, chicken pot pie is literally a pie, chicken, mixed veggies and gravy.  It has gravy! Seriously, how bad can it be.  Upon surveying what ingredients I had in my kitchen already I realized I was out of pie crust! Crap! I like to use the ready made crust because pie crust is not really something I am good it. Do not get me wrong I CAN do it!  It is just very stressful for me. I have pie crust anxiety!  So this got my wheels turning and that is when I found corn meal.  I am a southern girl so I always love corn bread.  My mother and I used to make a pan of corn bread and eat it for dinner with ice cold glasses of milk, whole milk for me and butter milk for her.  Oh, memories.  Corn bread is fairly easy to make and most people have the ingredients in their kitchens right now.  And so began the corn bread topped chicken pot pie.......


This was easy guys!  I even doubled the filling recipe so I could freeze half and have already made filling for another time.  I am giving you the none doubled recipe so if you would like to freeze some then double what I have listed. 
I know you see broccoli and I do not have it listed. I had some that was about to go bad and so I threw it in!


What You Will Need:

Filling:
2 carrots medium chopped
2 celery stalks medium chopped
2 red medium potatoes, diced medium
1 cup frozen peas
2 cups shredded chicken
1 cup chicken broth divided, 1/2 cup and 1/2 cup
2 tblsp all purpose flour
thyme
s/p

Crust:
1/2 cup milk
2/3 cup corn meal
2/3 cup all purpose flour
1 tblsp sugar
1/2 tblsp baking powder 
1 egg
1 tablsp olive oil or canola oil

Preheat oven to 400 degrees.
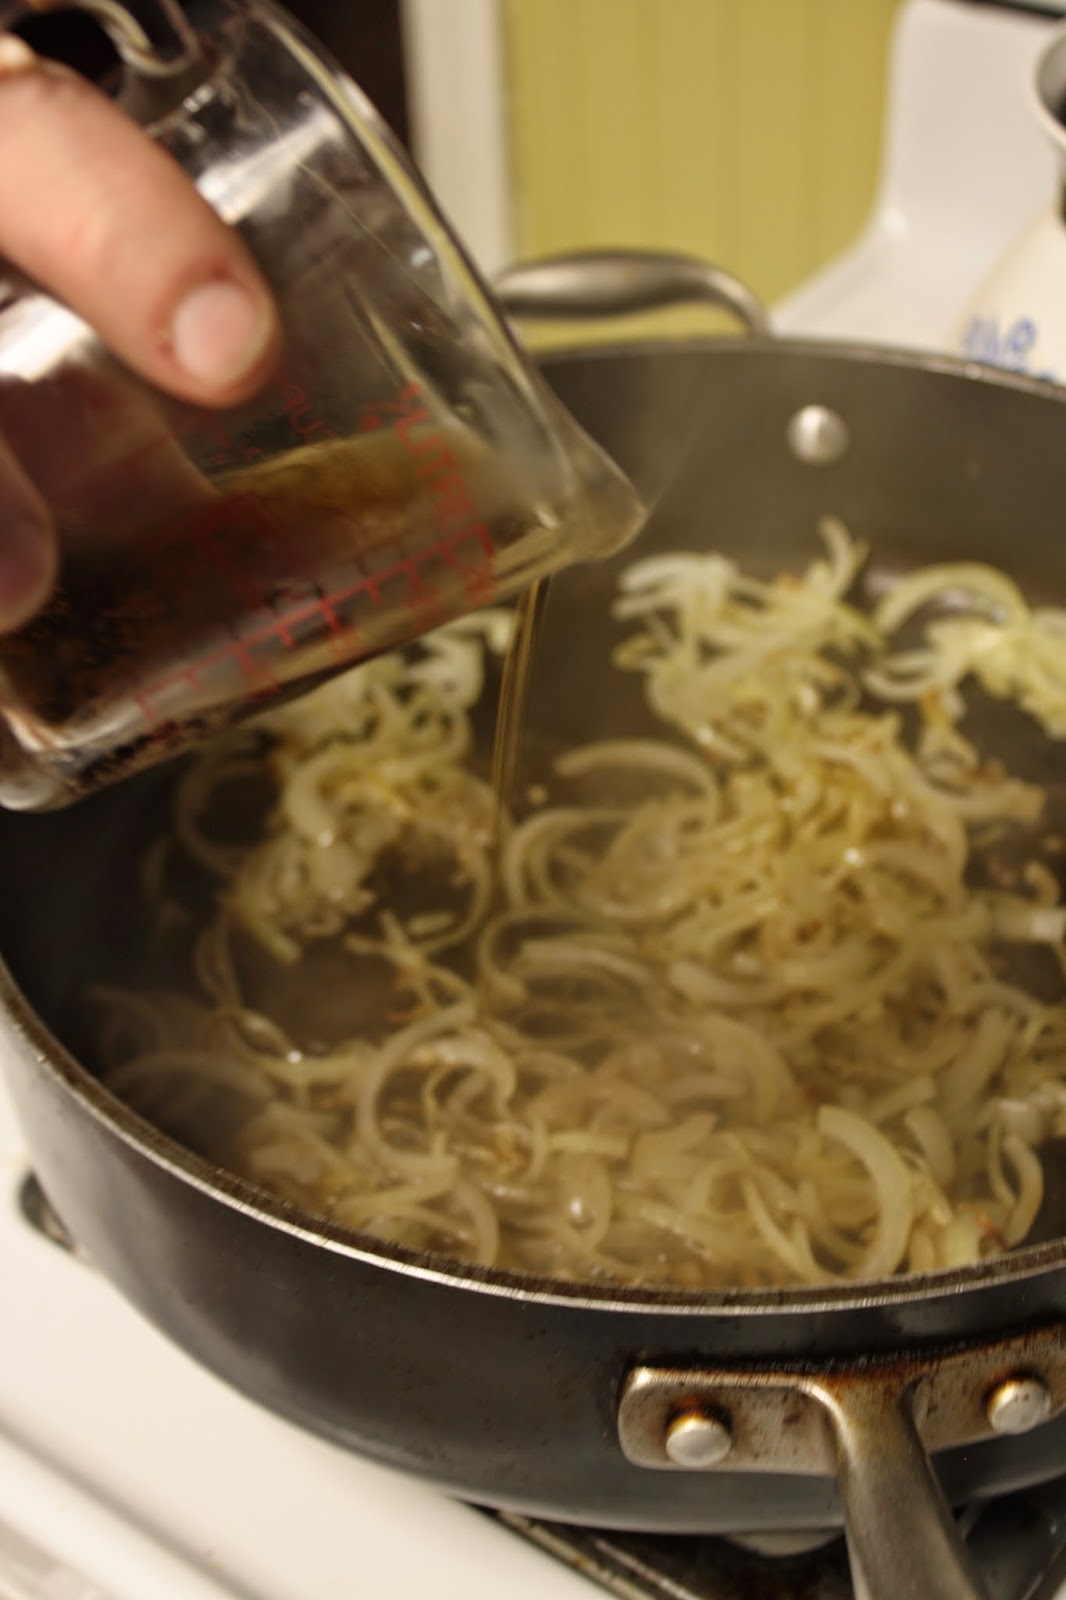
In a large skillet saute all veggies until tender. Add shredded chicken. Sprinkle with thyme. Add 1/2 cup chicken broth and bring to boil. In a separate boil mix cornmeal, flour, sugar and baking powder. Whisk in egg, milk and oil. Once veggie mixture is boiling, in a small bowl whisk together remaining chicken broth and flour, pour over veggies and chicken. Stir until thickened. Pour mixture into a deep casserole dish and top with corn bread mix. Bake for 25-30 minutes or until crust is golden. 

Friday, January 23, 2015

I Dreamed of Snicker-doodle Cookies

Disclaimer: There is nothing healthy, vegan, gluten free or vegetarian about this post and recipe! Haha.

In the words of my father in law, "I have never met a cookie I did not like!". No truer words have ever been spoken. Cookies are such a simple comfort food. A good cookie is full of flavor, crisp on the edges, soft in the middle. Some are good dunked in milk and others are a compliment to a hot cup of coffee! I have worked at perfecting the cookie. It has been lots of trial and error but I have found a few tricks that work: I always half the butter that the recipe calls for. I bake my cookies for only 8-6 minutes on parchment paper and when I pull them out of the oven I slide off the parchment paper and let the cookies cool on the parchment before I even touch them. I also love experimenting with different cookie flavors. Once, I had a little bit of "Great Value-Indulgent Trail Mix" left, about 2 cups, and thought throwing that in a plain cookie batter was a good idea...turns out they are Husband's absolute favorite!


Last night as I was unwinding from a rather stressful day, I got to thinking about junk food, comfort food and everything that is not healthy (in large quantities), stress will do that to you. For the strangest reason I could not get snicker-doodles out of my head. Sounds like a line from a Christmas story...AAANNNYway...I love a fluffy snick-doodle. There is something so cozy about the cinnamon and sugar coating and the fluffy texture! Not only do I love cinnamon, cookies and cinnamon cookies I also love cream cheese! Guys, OMG! This recipe is so divine it should be illegal!! My recipe calls for one package of cream cheese added to the butter and sugar mixture right before you add the eggs. The addition of cream cheese makes it nearly impossible to dry these out. They came out so fluffy and soft! I did have to cook these a little longer than I normally would because they are so moist. These are an absolute must bake!


These cookies also call for an ingredient called cream of tartar which I have come to notice helps with the fluffiness of the cookies. Cream of tartar is used to stabilize the whites of the eggs, in other words it makes things stay fluffy! Sugar cookie recipes that do not call for it are probably going to result in hard, hockey puck cookies. If you are into plain sugar cookies you could stop at the cinnamon part and just make sugar cookies. The cream cheese really added tons of flavor and again kept the cookies so tender!
This is about how thick they should be before they go into the oven.

You Will Need:

1 cup softened butter
1 1/2 cups white sugar plus 2 tablespoons
2 eggs
1 tsp. vanilla
1 package softened cream cheese
3 cups all purpose flour
2 tsp. cream of tartar
1 tsp. salt
1 tsp. baking soda
1 tablespoon ground cinnamon

Preheat your oven to 400. In a large bowl beat butter, sugar and vanilla. Add cream cheese and mix well, add eggs one at a time.  In a separate bowl mix dry ingredients (flour, salt, cream of tartar, baking soda) and fluff with fork. Slowly add dry mixture to butter mixture and fold with wooden spoon. It should start to become very dough like but still soft. Cover and chill dough for two hours. In a small bowl mix cinnamon and sugar. Roll chilled dough into ping pong size balls and roll through cinnamon sugar mixture. Press onto cookie sheet that is covered in parchment. The dough should resemble small disk. Bake at 400 for 10-12 minutes. Let cool completely. Enjoy!


Wednesday, January 21, 2015

Kid Approved Broccoli "Meat" Balls

When Max was little I never ever had a problem getting him to eat his veggies. He was never the wiser about all the amazing sour candies and sugar cereals that his daddy was indulging in. Now that he is the big five and he..."can do whatever he wants",figuring out a way to get him to eat them now makes me feel like I am searching for the fountain of youth. It takes some serious thought and planning.

Max loves, loves, loves spaghetti...it is his favorite and what he requested for his birthday dinner. I always blend in carrots, and cauliflower into the sauce and occasionally I roast a big spaghetti squash and use that instead of noodles. *If you haven't done that and would like to know how comment and let me know, I would love to share that recipe! Along with his spaghetti obsession he loves meatballs. I came across this recipe the other day and thought, "What if I could make a 90% vegetable version of spaghetti and trick him into eating it. We eat spaghetti once a week and this would be perfect!"

This recipe took some work, I will be honest but Max got involved and helped and the final product was approved by my sugar loving carnivorous five year old! I followed the original recipe which calls for Parmesan cheese but in the future I may use cheddar cheese and increase the amount of egg.


You will need:

One head fresh broccoli
1/4 cup pine nuts or almonds
1/2 cup shredded Parmesan cheese or cheddar cheese
1 1/2 cup bread crumbs
3 eggs (this is the increased ingredient)
salt and pepper
I added bread crumbs, cheese and salt and pepper.
I mixed the eggs with my hands, so you can do that if you do not have a food processor. 

Let the kiddos help!

Preheat oven to 350 degrees. Cut broccoli into workable florets and steam until tender. In a food processor combine broccoli, cheese, breadcrumbs and eggs. Blend well until the mixture forms. Form "meatballs" and place in a greased muffin tin. Option: you may top with a bit of cheese. Bake for 20 minutes. Let cool and then remove from pan carefully. Serve with pasta, on a hoagie like a meatball sandwich or eat them by themselves! SO good!!!!


This is what cooking is like for me! I know I am not the only one who has a baby or several begging for your attention while you are busy! Isn't their timing great! #thestruggleisreal lol

Tuesday, January 20, 2015

Update and Super Easy Caramelized Onions!

It feels like it has been ages since I have sat down in front of my computer and written to you guys! Christmas? Maybe?...wow!  I hope everyone had a great holiday.  Our New Year got started great and stressful. Is that possible?  Anyway, Husband got a fantastic new job which has him getting up at 4:30 in the morning, Baby B cut some teeth which has me getting up at all hours of the night and Max well....he is just cool as always!

 Right after the Holidays I started feeling like something was missing. There was an itch that I couldn't scratch.  Maybe it was the fall of the holidays and the feeling of having something to do every other day and then just not having anything to do, or just the warm fuzzy Christmas gives slowly starting to dissipate? I am really not sure. I started searching for something, I started with a vow to try and eat healthier this year. To be more specific to eat less animal protein.  I have done the all veg thing before and loved it however, living among multiple meat eaters proves very difficult.  After changing my diet up a little I was still missing something.....

Hi, I'm Jessy and I am addicted to Facebook!  There I said it!

 So I took a small break from Facebook to do some inner searching and found what I needed.  We started going to church as a family which has literally changed us, my soul is finally fed.  I had no idea how hungry I was.  I am not going to preach to you on here, but if you are missing something in your life and cannot figure out what the heck is going on...go get some soul food on Sunday morning! You might surprise yourself.

Like, I said I have been trying to eat more healthy which has had an effect on my cooking.  I am still cooking animal protein but I have tried incorporating a vegetarian dish at least once a week or limiting it to only eating very small amounts of protein at dinner...so I fit in. Haha. I have been focusing a lot on side dishes and how to jazz them up since they take up most of my plate these days. Today I am showing you how to caramelize onions and it is super easy!  Some comments I have heard about the time consuming act are: "They take forever!" and "Oh my goodness, I always burn them, I don't caramelize onions!" Well, people I have a cure for both of those problems!  Caramelized onions add such amazing flavor to so many things, they are sweet and smoky and just so darn good! I will take a rubber tire topped with caramelized onions, please.

I dare you to try this easy topping and get creative with what you put them on!  Typically caramelized onions take forever, you are basically waiting to draw out all the sugar in the onions which is how they get their sweet flavor and gorgeous color. Sometimes, that process can take forever and lets face it when you have a baby screaming at you and a five year old that is literally redecorating your house with Lego you need something quick!  My secret......COLA! The cola adds the sugar for you and cooks down into this caramel goodness that coats the onions and adds gorgeous color! Yes, it is that easy!!  It cuts the cook time in half and BOOM you have your onion candy if you will.  I used mine on some creamy Parmesan rice and it was delish! What will you put your onions on? C
omment below and let me know what you did with them!
I cannot take credit for this picture....but it is so gorgeous.
Slice some onions really thin and grab some tissues, have a good cry. There, there it is going to be okay.
This would be the shiny, glittery translucent stage...yum!
The secret! 
Thank you Husband for being my hand model! Those are some callused hard working hands, y'all!

What you will need:

4 small yellow onions
1/2 cup cola (I used Pepsi but I prefer coca-cola)
pinch of salt

In a skillet over high heat, heat olive oil.  Slice onions very thinly.  Add onions to pan and sprinkle with salt.  Cook until tender.  Add 1/2 cup of Cola and stir to coat onions. Let the onions sit until the liquid reduces (it will appear to thicken).  Do not be afraid to turn the heat up, high heat is the only way to get that nice brown color.  Once the cola has reduced the onions should become soft and brown.  Cook to desired texture. Serve over whatever you like, rice, chicken, burger or the sole of a shoe! They are so good!

Don't be deceived by their wormy appearance these were so good! What will you put yours on?!?!